Half Price Parchment and a Doodle Step by Step
Hi there. Thanks for popping in. Sunshine again here in the South East of England, and I have spent a happy couple of hours doodling onto a piece of designer parchment from the Northern Lights Pad. There are actually 3 Designer parchment pads lighting up half price on the website: Northern Lights, Rainbow River and Shendandoah.


Available HERE
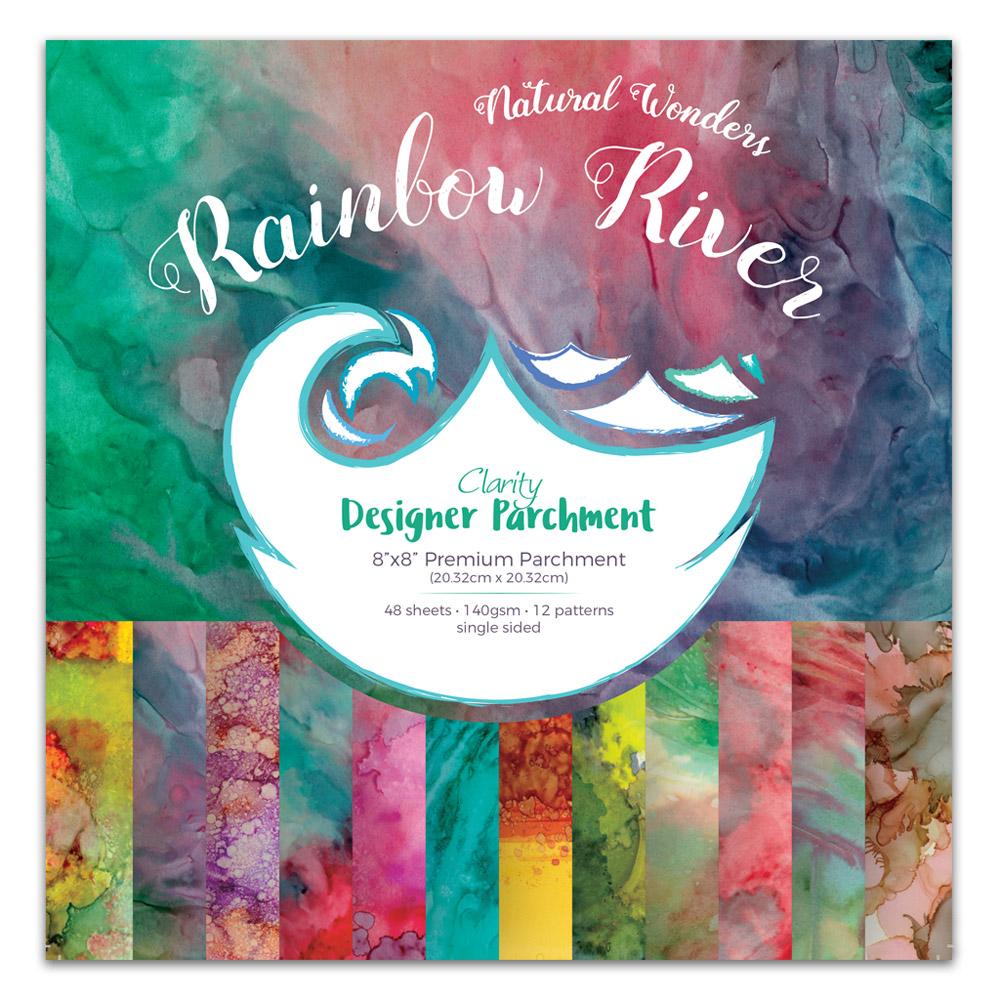

Available HERE


Available HERE
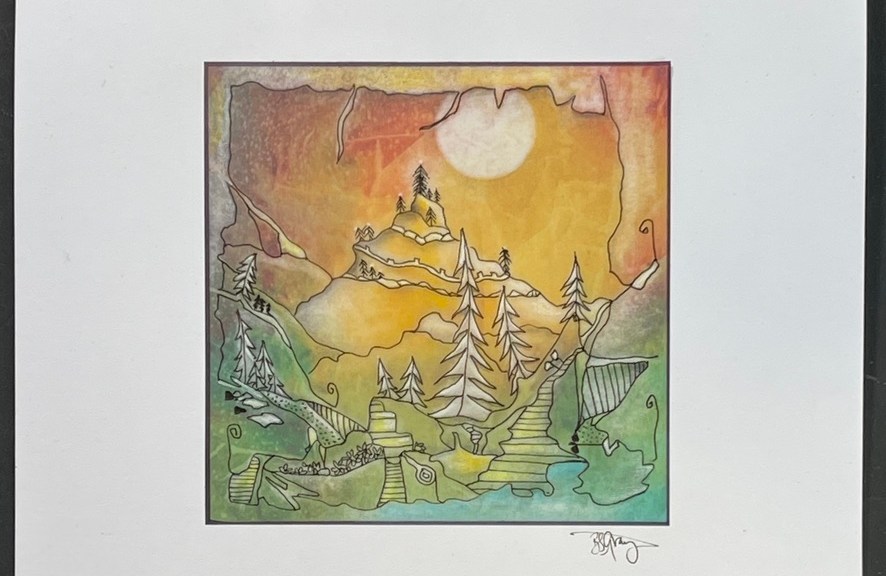
One of the easiest, creative and arty things I do is to stamp or doodle on designer parchment, and then highlight by lifting colour out with a white ink eraser. In fact, if I had to list my all time top 10 pieces of artwork, this one with the girl on a tight rope in the moon would be in the top 3:


Shenandoah used above. Anyway, I thought I’d chill for an hour or so, and take it from the top, so you see how our designer parchment is superb for stampers, and artists – not just parchers.
Sunday’s blog a step by step, so here goes…
First thing to do is die cut a few coloured parchment squares. Or you can use a guillotine. If you see a perfect “scene” bang in the centre of the parchment, that’s fine; cut a few smaller boxes out around the edge. I just trust that the colours will present a scene, and cut to maximise the parchment. These here are cut out of Shenandoah and Northern Lights.


Pick a square, any square. Sandwich it between a sheet of white paper and a sheet of tracing paper. Parchment paper should be dull side up, shiney ink side down. Let’s have a play first…


- Using a Micron pen 01, and working on the tracing paper, just start following the lines to make a hill line. This will be your starting place.
- Add some trees and more hills, just following the lines, colours and patterns.
Here are the pens…


This is only a tracing paper practice piece, You can change your mind, decide to scrap a path, add a different trail – YOUR CHOICE.
Now decide. You can slip the tracing paper underneath the parchment, and trace your draft, or you can set it to the side and just go for it, using the tracing paper as a rough guide, rather than a trace me.
We are drawing on the dull side of the designer paper, which is the front.


Once you have doodled your landscape, flip the parchment to the shiny inky side, the back. Using a white Faber Castell eraser pencil, start lifting out colour on the back. Do this on a hard surface. You will also now realise why we doodled on the front; the lineart stays in place and isn’t affected by the ink eraser.

next thing is whitework. Now you need a soft mat and a couple of ball tools. You are still working on the back, on a soft mat, and highlighting areas of your doodlescape.


We have a little starter set for folks who fancy trying this, but who aren’t parchers. In the kit is the eraser pencil – pink AND White end, the soft/hard mat for whitework and a couple of tools for whitework too.

- Let’s add a moon. I used a mini moons mask for this one. Again, stay on the back of the parchment.
- I erased the border at the same time.
- Added a few coloured pencil highlights in the stairs I had doodled.
- Added a little grey drop shadow underneath the white frame. See?


Last stop: the edging. Black Sharpie pen is best.

Now it’s time to attach the square art to a white card blank. I decided to use a 7”x 7” cardblank, to give the Doodlescape a really wide white frame.
- How to attach? The brilliant thing is that the Clarity Tape runners can’t be seen underneath the designer parchment! Look!
- Added a little flash of colour to the front too.


Sign your work bottom right. Done.


There you have it. Dave came home from a morning of making our Güd Folk Crackers, and really liked this doodle. I hope you do too. And believe me when I tell you, the random colours and patterns in the Designer Parchment are what make these Doodle scenes so easy to do.
Take advantage of the half price sale (PLUS Craft Club discount) on the 3 packs – and see for yourself.
Stay safe.
Love and Hugs
Barb xxx
11 thoughts on “Half Price Parchment and a Doodle Step by Step”
Fabulous doodle.
That is a fantastic doodle. We had sun this morning, but has now clouded over!
Beautiful
Brilliant doodle. x
Love how you see the scenery hidden in the parchment. I think we did one last year on a piece of Shenandoah which I really enjoyed doing. Must dig it out & frame it.
Off to check out my designer parchment & whether I need anymore before choosing some pieces to chop up & doodle on. More art for the B&B in Wales or Christmas presents !!
I so wish I had just a little of your imagination Barb – you make this type of artwork look so easy!!!!!! Thankyou for sharing…….
Hi Barbara,
I like the idea of doodling on rainbow parchment. So effective. Great work.
Hello Barb, love this doodle, very creative and arty. Need to give it a go myself. Take care and stay safe everyone. Bx
That’s brilliant! I need to get out some of my scrap pieces and make them into pieces for my art journal. Thanks for the inspiration x
I love what you did with the parchment. Time to pluck up the courage to use some of the drawing techniques you’ve taught us in the Shac shack. Thank you for all your inspirations.
I love this idea and must give it a go. X